How to Clean a Breville Espresso Machine
If you’re desperately searching for instructions on how to clean a Breville espresso machine that isn’t hard to read and even harder to execute, look no further!
The purchase of a Breville espresso machine is the first step to a more innovative morning wake-up routine (or evening, we won’t judge). With a wide range of options, both automatic and manual, you truly can’t go wrong with Breville.
Unfortunately, a next-level espresso machine comes with cleaning and upkeep needs in order to maintain the best user (and taste-bud) experience. Cleaning coffee machines can be meticulous and just overall difficult, but with this step by step walk through, cleaning your Breville coffee machine will be a walk in the park!

How to Clean a Breville Espresso Machine
First, there are a few quick and easy cleaning tips you can implement between your daily uses on a regular basis in order to keep a clean machine for a longer time – like procrastinating, but this time, it’s actually a good idea.
These four steps will hardly add any time to your routine and will make a huge difference in the overall quality of both your machine and the espresso it yields.
Discard the Puck
After you’ve made your espresso shot, take out the puck (the hockey-puck shaped container that contains the coffee) and throw it away. This is important for two reasons: One, it is easier to get the grounds out of the puck when they are still warm, and two, the longer the grounds sit, the more oil is built up, which leaves residue in the machine and affects the taste of your coffee over time. I don’t know about you, but I’d rather deal with freshly used grounds than oily, sat-for-hours grounds.
Rinse the Portafilter and Tamper
The portafilter is what the puck sits in and where water is run through. Coffee grounds get stuck in it after use and can cause the same problems as the used puck, leaving residue and affecting quality. To avoid this, just simply rinse the portafilter after each use, drying it fully with a clean cloth or towel. You will do the same with the tamper, the device used to pack the grounds into the puck. Again, it’s just easier to get rid of grounds at the moment than it is after they’ve sat and marinaded in their own oils.
Clean the Group Head
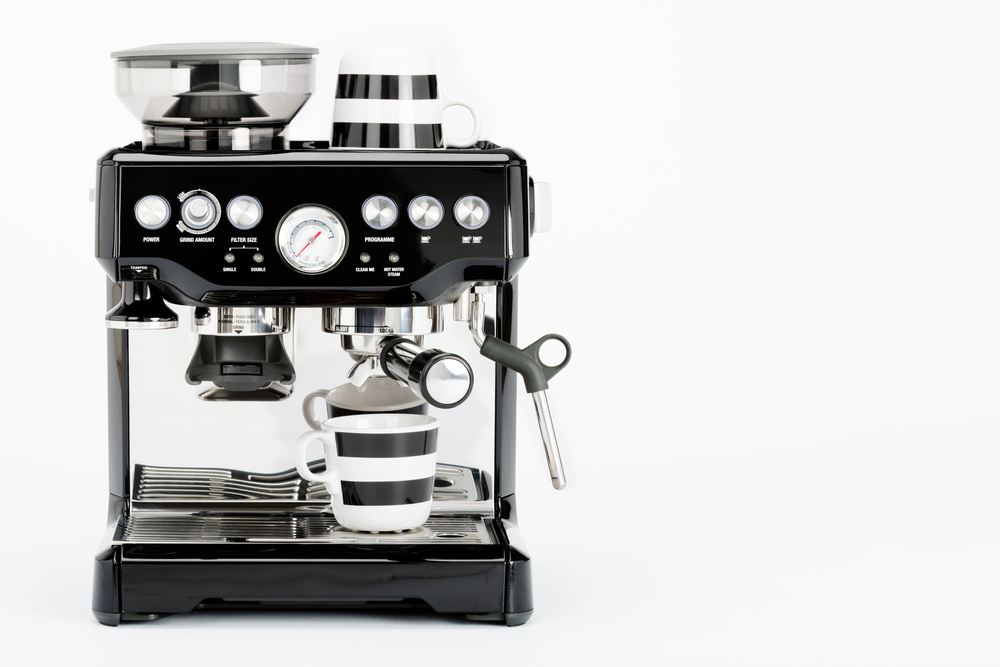
The group head is the centerpiece of an espresso machine, where the water from the boiler is dispensed into the water filter basket. To avoid a build-up of old coffee grounds and, of course, oils over time, simply flush the group head after each use by running a “blank shot” through the machine (run the machine without any coffee grounds).
Wipe the Steam Wand
First, you will want to purge the steam wand (the device that heats the milk to create a frothy texture). Do this by releasing a little bit of steam into a towel, which will remove any milk residue that has built up in the wand. Then just wipe it down with a wet rag!
Although it can feel disruptive to your routine, especially if you roll out of bed and run out the door in the mornings, these regular maintenance practices are super quick and will end up totally worth the sacrifice of just one or two minutes of sleep. Plus, it doesn’t take long to build a new habit. If you struggle to remember to add these steps into your routine and build the habit, just write them down on a notecard or something of the like and place them near your espresso machine.
I know you didn’t come here for a self-help lecture, so let’s get back to the real reason you’re here: an easy cleaning process!

The Dreaded Deep Clean
All of the tips and tricks from above will keep your Breville machine cleaner for longer, but you will still need to go through the deep cleaning cycle every now and then. Just like a hungry baby, your Breville machine will give you some hints, such as a longer brew time or a different taste, that it may be time to clean thoroughly, but if you keep up with the previous tips on a regular basis, it should be much easier!
There are slight differences in the best cleaning methods from machine to machine, so check the manual for your specific espresso machine. The below steps will outline the general cleaning procedure for a Breville espresso machine.
Before You Start
Before you begin the deep clean, be sure to remove the water filter. If left in, it will absorb the descaling solution during the descaling process and diminish results in the end.
Prepare the Cleaning Solution
Ready to clean your espresso machine? Start by pressing the power button on your machine and mixing the cleaning solution according to the instructions on the packaging. If you are using a vinegar solution, use an equal parts ratio (1:1) of clean water to vinegar, then fill the tank up to the marked max line. Or, you may choose to use the Breville Cleaning Tablets.
“Brew” the Solution
Once you have the solution mixed, the next step is to run it through the machine just like you would if you were brewing espresso! Pour the cleaning solution into the water reservoir and proceed as normal. Make sure to run the solution through each part of the machine – the portafilter, hot water outlet, and steam wand, in that order – until all of the solution is used up. Place a large bowl underneath each of the three parts to catch the cleaning solution as it runs, just as your coffee mug catches the espresso.
Follow up with Water
Send a round of warm water through the machine in the same way you did the cleaning solution: filling the water tank to the max line with fresh water, then running it through the portafilter, hot water outlet, and steam wand with a bowl underneath each to catch the water flow. This will ensure that any remnants of the solution are flushed out so that your next espresso brew is up to par. This step is important! Unless you like your coffee to have a slight chemical taste. If you notice the water isn’t coming out the same color it went in, repeat this step until it does.
Check the Machine
After you’ve “brewed” both the cleaning solution and water, take a look at your machine – both inside and outside. If you see any leftover coffee residue, mineral buildup, coffee grounds, or oils, feel free to repeat the previous steps, the “brew” cycles, as needed. You can also give any part a quick wipe with a clean cloth or towel.
Enjoy your Delicious Coffee
I apologize in advance, but this step is going to be the most difficult of all.
The last, long-awaited step is to enjoy your great-tasting coffee! After all this hard work, you’ve nothing but earned it, even if it’s your second of the day (or third or fourth; we still aren’t here to judge).
We all want a Breville espresso machine to become our own personal in-home baristas, but like all baristas, the job comes with necessary cleaning and maintenance to obtain the best quality coffee. With these simple and clear steps, a clean machine and delicious coffee should never be out of arms reach!
One last time, the best way to keep your Breville coffee maker in tip-top shape is to keep up with the regular maintenance laid out in the first part of this article. You will thank yourself later when you realize that the taste of your coffee never disappoints. Hopefully, you found the deep cleaning cycle easy to follow and easier to execute, so you dread it less each time as you become a professional Breville espresso machine cleaner (too bad you can’t put that on a resume).
You may enjoy this video from the company on how to clean a Breville espresso machine.


